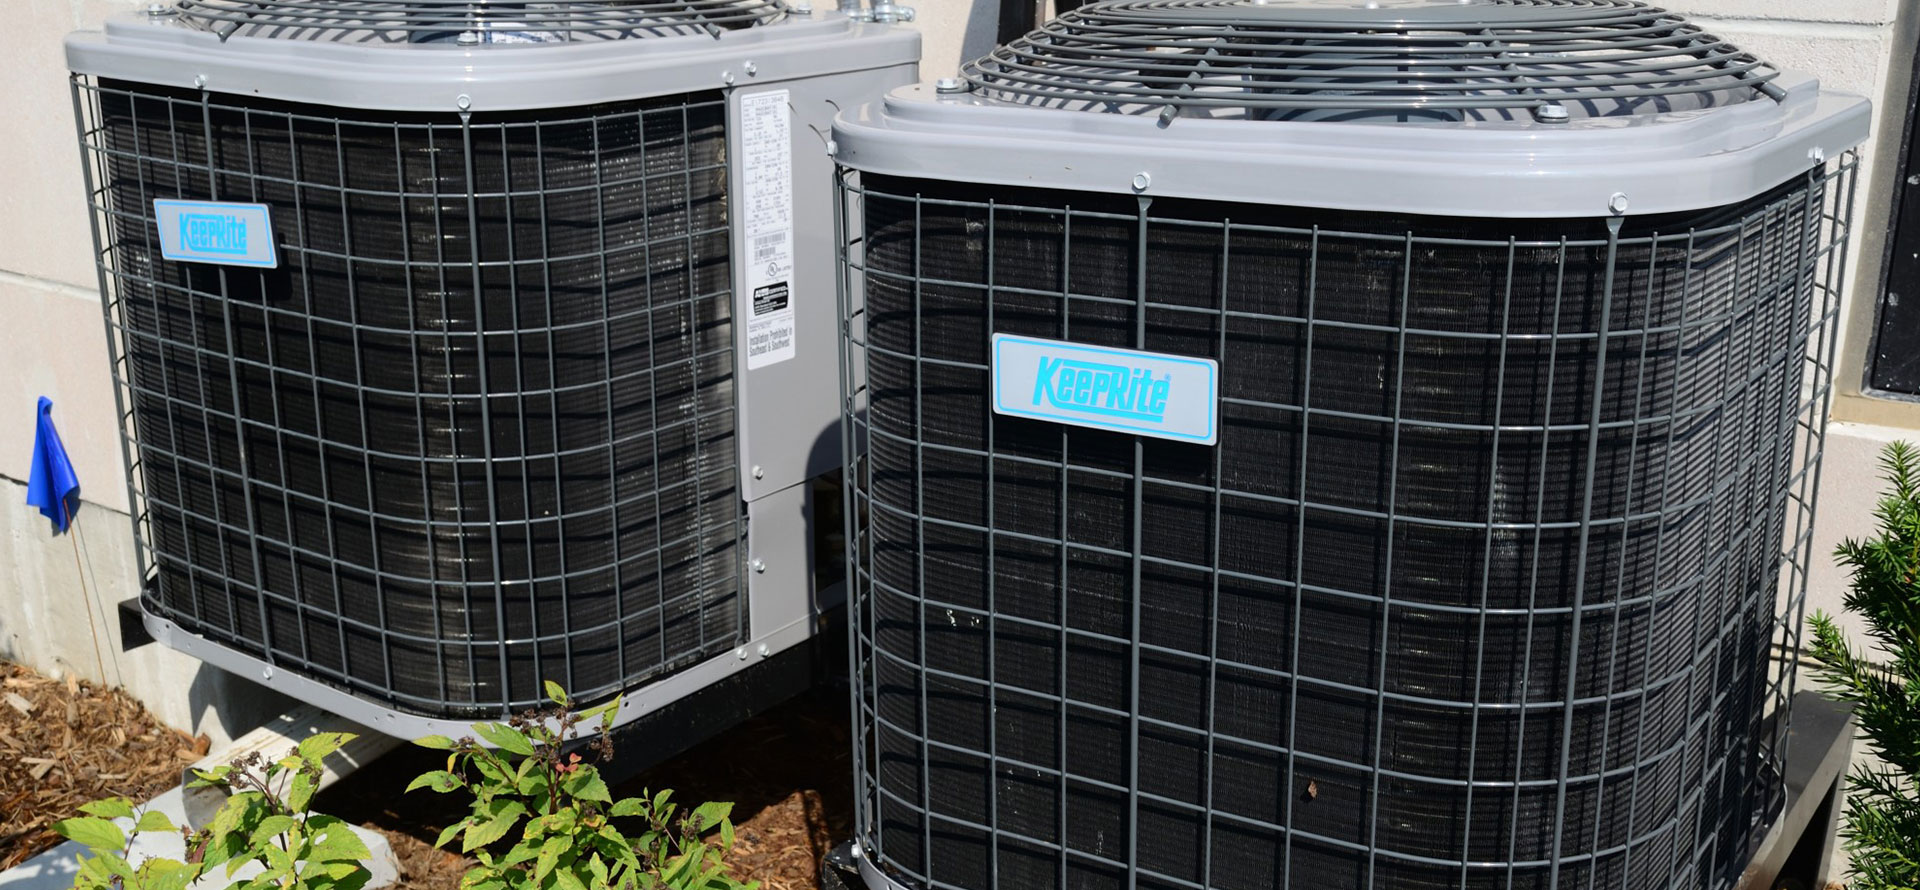
How to clean a wall-mounted air conditioner: a step-by-step guide
Key takeaways
- •A wall-mounted air conditioner does need cleaning: the filters, blower wheel, fins, coil and condensation drain are the five zones to cover.
- •Filters should be washed every two weeks during cooling season. A full cleaning of the unit is done once or twice a year.
- •A mix of lukewarm water and mild soap is enough in almost every case. Diluted white vinegar lifts the mold film off the blower wheel.
- •Always shut off the breaker before touching the unit, and use a fin comb to straighten crushed fins.
- •If you find black mold inside the blower wheel or the smell lingers after cleaning, have the unit serviced by a professional.
A wall-mounted air conditioner that runs without maintenance gradually loses efficiency, starts blowing a musty smell and draws more electricity for less cooling. Most of the upkeep is a do-it-yourself job, with a vacuum, a cloth and white vinegar.
Cleaning runs through nine steps: filters, blower wheel, coil, condensation drain, then the outdoor unit. Here is which ones you can do yourself, how often, and where the DIY stops.
1. Does a wall-mounted air conditioner really need cleaning?
A wall-mounted air conditioner — also called a mini-split or a wall-mounted heat pump — is an appliance that breathes. It draws in the air in the room, filters it, cools it, and blows it back out. Everything circulating in that room passes through it.
Over time, dust, pollen, pet hair and humidity build up in the filters, in the blower wheel and on the fins of the coil. Moisture stays trapped in that layer: that is where mold takes hold.
A clogged unit cools less and has to run longer to reach the temperature you asked for. The electricity bill follows, and so does the musty smell.
💡 Tip :
Schedule your air conditioner cleaning alongside your ventilation duct service: both deal with the same indoor air.
2. Wash the air filters every two weeks
The air filter is the part that needs the most attention — and the easiest one to look after. It is what traps dust before it reaches the blower wheel and the coil. A saturated filter lets that dirt through to the internal components.
On a wall-mounted air conditioner, the filters come out by hand, without tools. Run the vacuum over them with a brush attachment, then wash them in lukewarm water with a mild detergent. Let them dry completely before putting them back: a damp filter encourages mold.
During cooling season, count on a wash every two weeks. In a dusty home or one with pets, do it weekly. Replace the filters as soon as they are torn, warped, or still smell after washing.
💡 Tip :
Clean your air conditioner filter on the same schedule as your dryer filter: two simple habits that extend appliance life and reduce risk.
3. What product should you use to clean a wall-mounted air conditioner?
You do not need specialist products for routine care of a wall-mounted air conditioner. A mild soap or a mild detergent diluted in lukewarm water handles the vast majority of dirt.
For the greasy film that settles on the blower wheel and the fins, diluted white vinegar works very well: mix one part vinegar into three parts lukewarm water, spray it onto a soft cloth, then wipe. Vinegar also slows mold growth without attacking the internal components.
For stubborn marks on the casing, a drop of dish soap does the job. Always rinse with clean water and dry with a clean cloth to avoid streaks.
Homemade mix :
One part white vinegar to three parts lukewarm water in a spray bottle. Spray onto the cloth, never directly into the unit.
⚠️ Careful :
Avoid bleach, abrasives, concentrated alcohol and high-pressure water jets. These attack the fins and flood the electronics. Never pour water directly into the unit.
4. Clean the indoor unit step by step
This is the part people skip most often, and it is exactly where dust and mold collect. Here is the sequence for the indoor unit.
Step 1 — Cut the power
Stop the unit with the remote, then switch off the breaker at the electrical panel. This step is not optional: you are about to touch parts that sit right next to the electrical components and the coil.
Step 2 — Remove and wash the filters
Open the front panel, take out the filters and wash them as described above. Use the opportunity to vacuum the dust built up in the grille and around the frame.
Step 3 — Clean the blower wheel
The blower wheel is the finned cylinder that pushes the air out. It is what carries the black film of mold and the musty smell. Work a soft toothbrush between the fins, then wipe with your water and white vinegar mix.
Step 4 — Clean the fins and the indoor coil
Gently vacuum the fins with a brush attachment, following the direction of the fins. Do not apply any pressure: the fins are thin and bend at the slightest knock.
Step 5 — Clear the condensation drain
Water pulled out of the air flows away through a drain line. A blocked drain makes water overflow down the wall. Locate the outlet and check that water runs freely.
Step 6 — Reassemble and test
Let everything dry completely, refit the filters, close the front panel, then restore the breaker. Run the unit for a few minutes and check that the air coming out is neutral, with no smell.
⚠️ Safety :
Until the breaker is off, do not touch the blower wheel, the fins or any connections. If you are not comfortable opening the front panel, stop at the filters and leave the rest to a technician.
5. Clean the coil and the condensation drain
The coil (the evaporator) is the heart of the appliance: it is where the air actually gets cooled. As it collects dirt, it stops condensation from evaporating properly, which reduces efficiency and pushes energy use up.
The condensation drain suffers the same fate. Over time, dust and organic residue form a plug inside the line. Water stops flowing, overflows from the unit and stains the wall or ceiling. It is also a source of humidity that encourages mold.
Clean the coil with a vacuum and a damp cloth, without bending or piercing it. For the drain, slowly pour a little lukewarm water mixed with white vinegar into the collection tray: if the water flows away normally, the drain is clear. If not, it has to be cleared mechanically.
💡 Pro tip :
Clear the drain at the start of every cooling season. It is the least known step and the one that prevents the most water damage along walls.
6. Straighten the fins with a fin comb
The fins on the condenser and the evaporator are as thin as paper. A knock during cleaning, a trapped object or a sharp temperature change is enough to bend them. A crushed fin blocks airflow at that exact spot, and dirt catches there faster.
To straighten them, use a fin comb: this inexpensive tool, with calibrated teeth, slides between the fins and straightens them without tearing them out. Move it slowly, always in the direction of the fins, in small strokes.
If you do not have a fin comb, a soft-toothed accessory can get you out of trouble, but avoid plastic cards and screwdrivers: they crush the fins more than they straighten them.
⚠️ Careful :
The more a fin is bent, the more efficiency the unit loses. Beyond a few twisted fins, or if they are corroded, it is better to have the coil assessed by a technician.
7. Clear and level the outdoor unit
The outdoor unit works in tough conditions: dead leaves, dust, snow, pollen. A condenser surrounded by debris cannot discharge heat properly, which strains the compressor and reduces efficiency.
Clear the space around the unit and remove leaves built up in the grille. Clean the outdoor coils with a gentle water spray, top to bottom, after switching the power off. Avoid pointing the spray directly into the fan.
Also check the levelling. The unit sits on the ground or on a support that can shift with freezing and thawing. A tilted condenser vibrates more, makes more noise and wears out faster. Raise it on a stable base or a concrete pad if needed.
Finally, cover the outdoor unit in winter, when the appliance is not in use: a tarp or a few pieces of plywood keep snow, ice and leaves from building up inside.
💡 Pro tip :
A tarp secured for winter, but never laid directly over the electrical connections. Always leave a vent gap under the tarp to avoid condensation.
8. Add smart technology
A smart thermostat complements manual maintenance well. By scheduling run times around your hours at home, it avoids cooling an empty room and cuts energy use.
Many models can be controlled remotely from a phone, so you can adjust the temperature before you get back. Some also detect the drop in performance of a clogged unit and flag it, which helps you keep to a cleaning schedule.
Technology does not replace cleaning: a clogged unit run by a smart thermostat is still a clogged unit. But combined with regular maintenance, it improves comfort and control.
9. Clean it yourself or call a professional?
Cleaning the filters, the casing and the grille is straightforward to do yourself. Cleaning the blower wheel, the coil and the drain takes more care, but is still within reach if you work methodically.
Some jobs belong with a technician. The refrigerant charge should never be topped up unless there is a leak or a faulty original installation: recharging without finding the leak only hides the problem. Checking the electronics, replacing parts and deep anti-mold treatment also call for tools you do not have.
A professional visit is warranted if you see black mold established in the blower wheel, water running down the wall, a drain that will not clear, an abnormal noise or an unexplained drop in performance. Leaving those signs untreated means letting mold and pollutants spread through the air in your home.
⚠️ When to call a pro :
Mold established in the blower wheel, a smell that persists after cleaning, water leaks, a blocked drain, abnormal noise or falling performance. These cannot be fixed with a vacuum.
How often should you clean what?
| Item | Frequency | Who can do it |
|---|---|---|
| Air filters | Every 2 weeks in season | Yourself |
| Casing, grille and front panel | Once a month | Yourself |
| Blower wheel | 1 to 2 times a year | Yourself or a pro |
| Coil (evaporator) | Once a year | Yourself or a pro |
| Condensation drain | Start of the season | Yourself or a pro |
| Outdoor unit (condenser) | Spring and fall | Yourself or a pro |
| Refrigerant charge | Only if there is a leak | Professional |
Frequently asked questions about cleaning a wall-mounted air conditioner
Does an air conditioner actually need cleaning?
Yes. A wall-mounted air conditioner is cleaned with lukewarm water and mild soap, from the filter through to the blower wheel. Filters should be washed every two weeks in season, and the full cleaning of the unit is done once or twice a year.
What product should I use to clean a wall-mounted air conditioner?
A mild soap or a mild detergent diluted in lukewarm water is enough. For the greasy film on the blower wheel and the fins, a mix of one part white vinegar to three parts lukewarm water works very well. Avoid bleach, abrasives and concentrated alcohol.
How do I clean the inside of my air conditioner?
Switch off the breaker, remove and wash the filters, then clean the blower wheel with a soft toothbrush and a water and white vinegar mix. Vacuum the fins and coil without bending them, clear the condensation drain, let everything dry, then reassemble and test.
Is white vinegar effective for cleaning an air conditioner?
Yes, diluted in lukewarm water. White vinegar lifts the film of dirt off the blower wheel and the fins, and slows mold growth. Spray it onto a cloth rather than directly into the unit, and never use it neat on the internal components.
How often should a wall-mounted air conditioner be cleaned?
Filters every two weeks during cooling season, the casing once a month, and a full cleaning of the unit (blower wheel, coil, drain) once or twice a year, ideally before summer.
Should I shut off the breaker before cleaning my air conditioner?
Yes, always. Stop the unit with the remote, then switch off the breaker at the electrical panel before touching the blower wheel, the fins or the coil. Restore power only once the unit is dry and closed up.
Read next
For a clean, efficient cooling system, take a look at our other services and articles.
- →ventilation duct cleaning
Our ventilation, heating and air conditioning duct cleaning service in Montreal.
- →air exchanger maintenance
Your air exchanger works alongside your air conditioner: it deserves the same care.
- →air duct cleaning
Full cleaning of all types of ducts to improve indoor air quality.
- →mold in a house
Recognise the 8 common signs of a mold infestation before it takes hold.
- →see our current promotions
Discounts on wall-mounted air conditioner, ventilation duct and air exchanger cleaning.
- →NADCA certification
Why choose a NADCA-certified company to clean your ventilation systems.
Filters every two weeks, a full clean before summer. If the smell persists after cleaning, or mold has taken hold inside the blower wheel, upkeep will not be enough: that is the time to call a technician.
Request a free quote